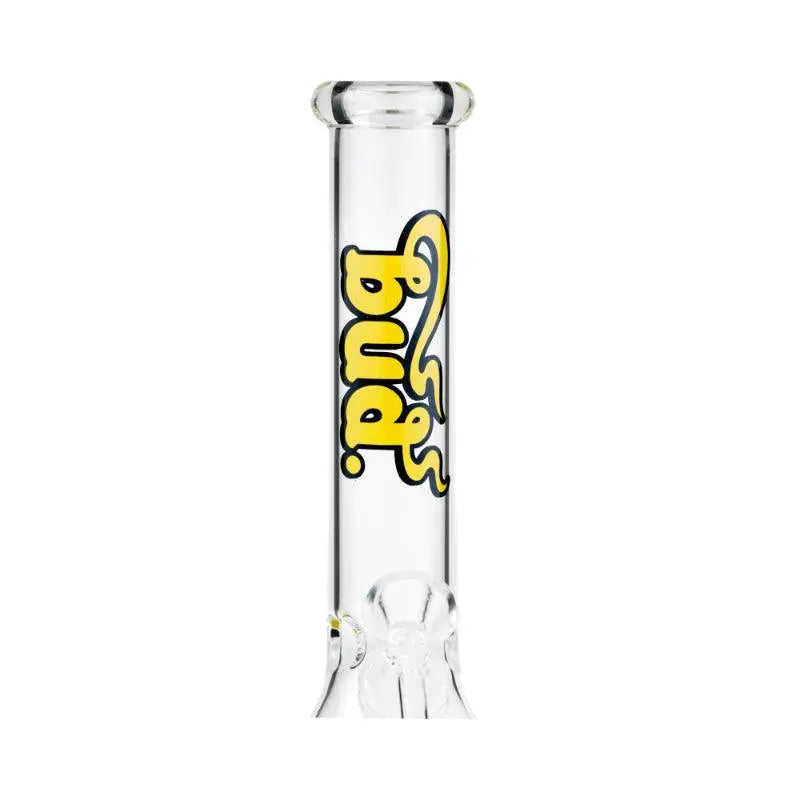
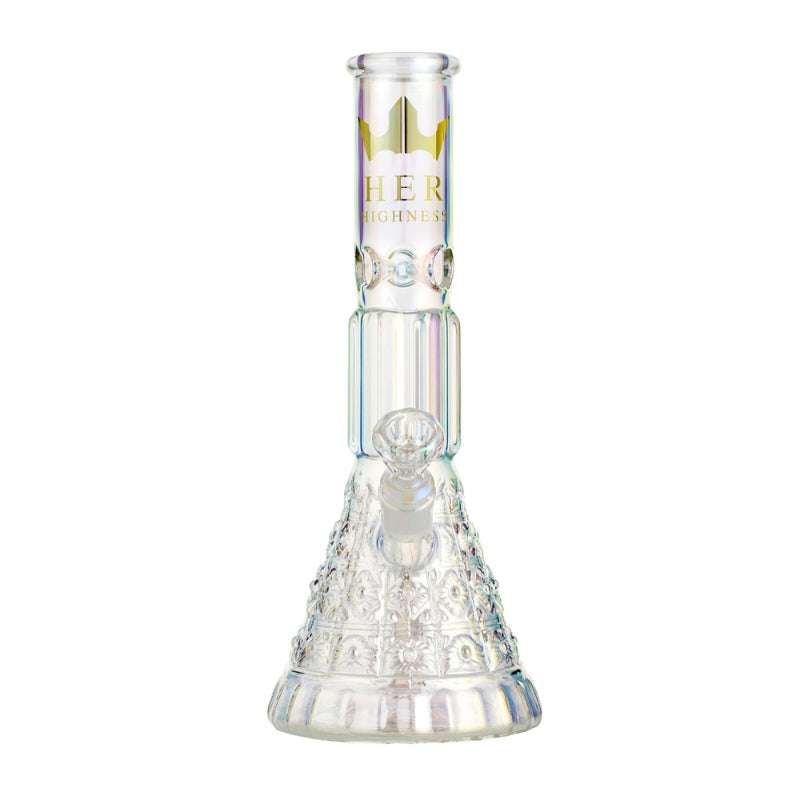
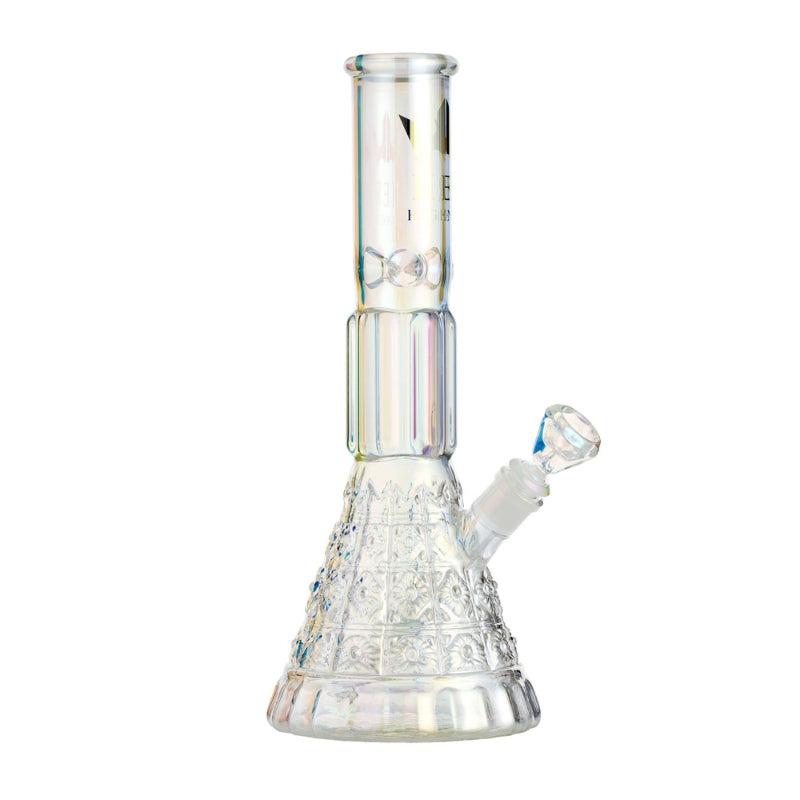
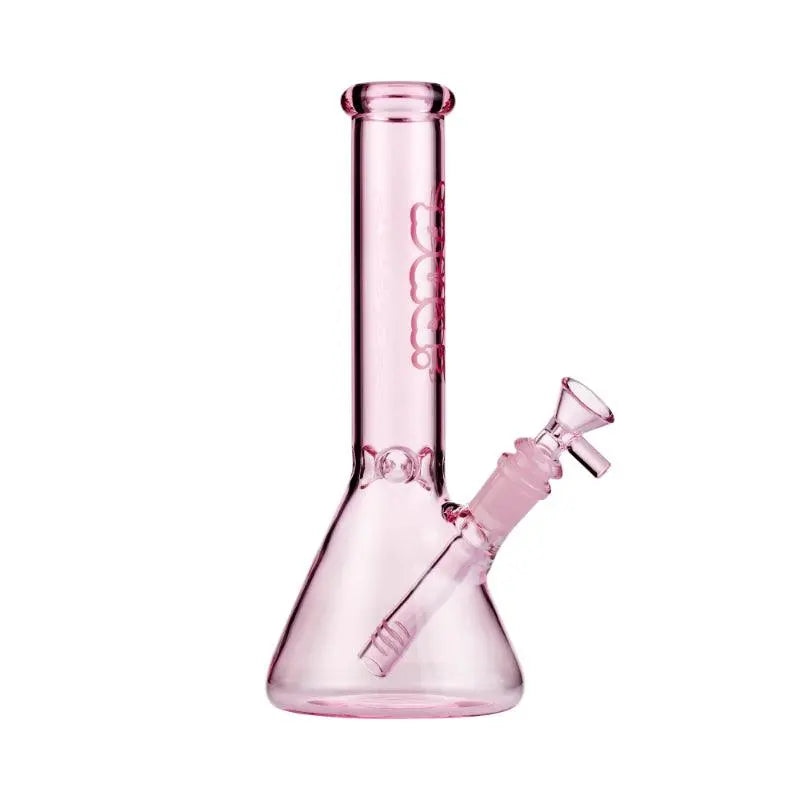
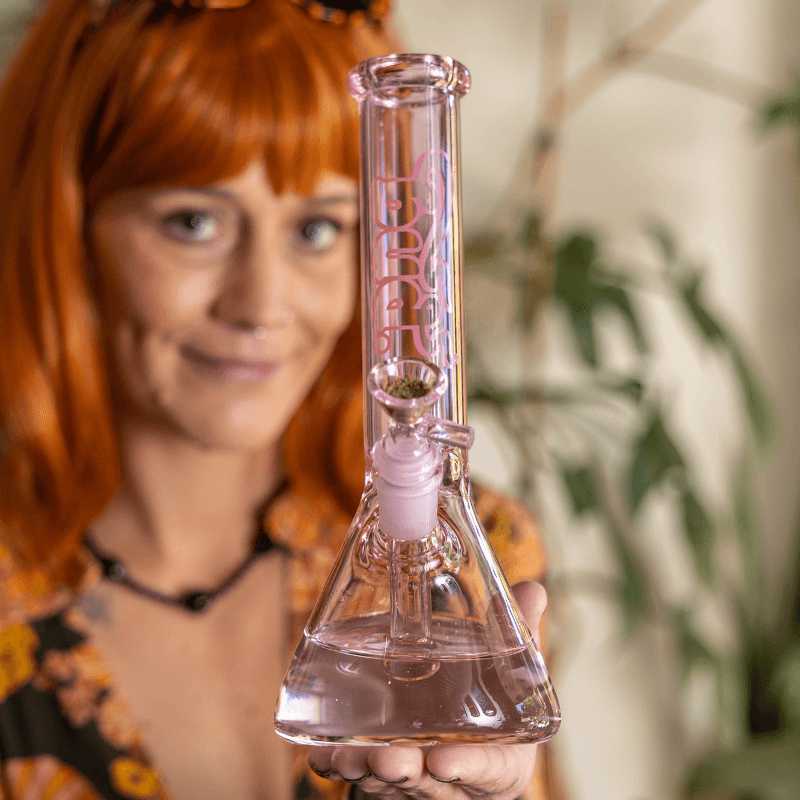
Following this comprehensive guide on how to clean a bong will maintain your piece in prime condition, ensuring smooth hits and optimal filtration for an exceptional smoking experience.
Step 1. Disassemble Your Bong
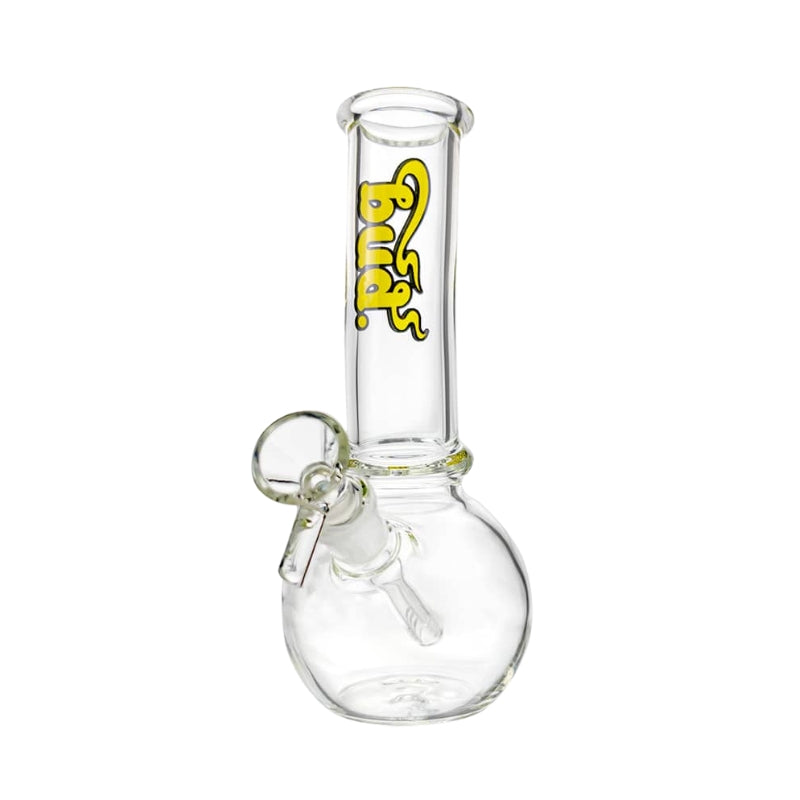
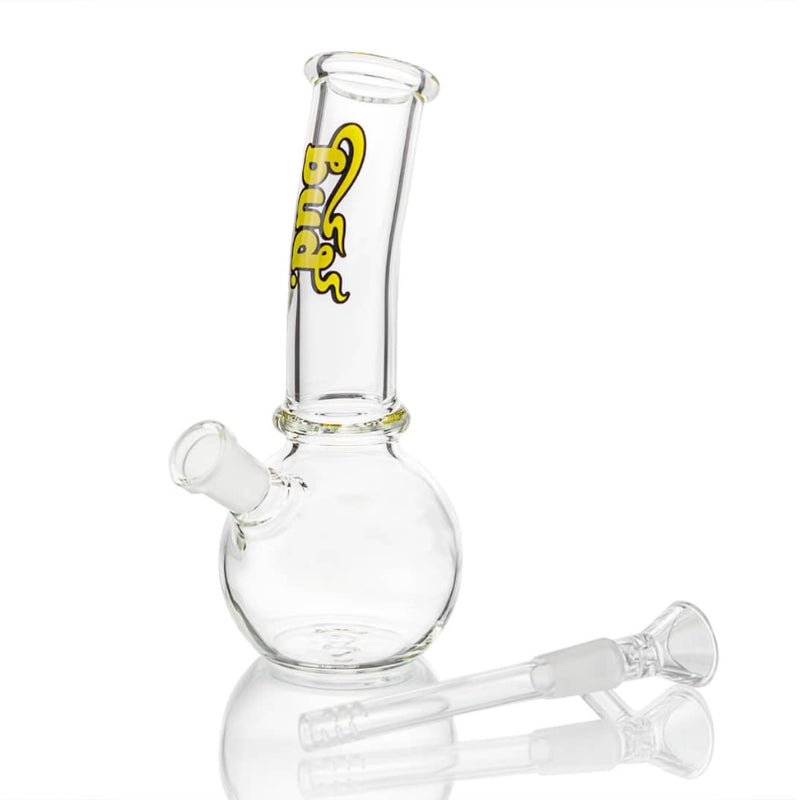
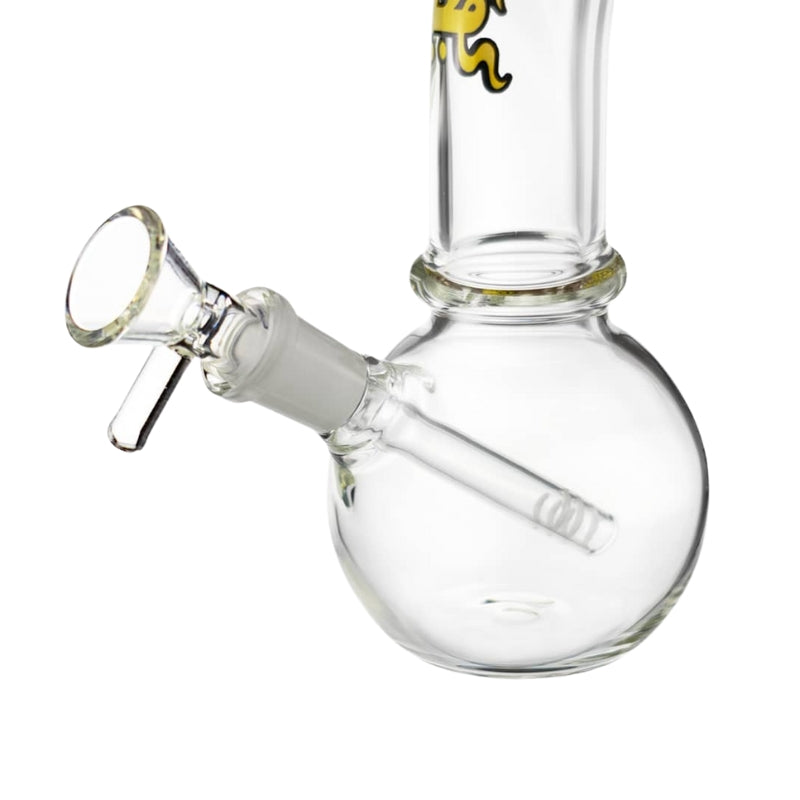
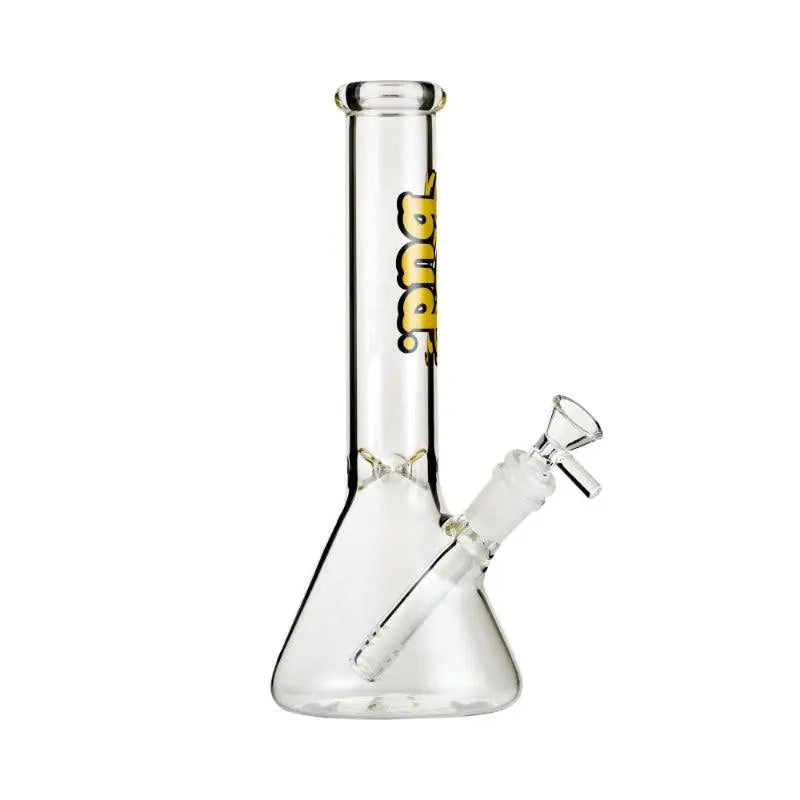
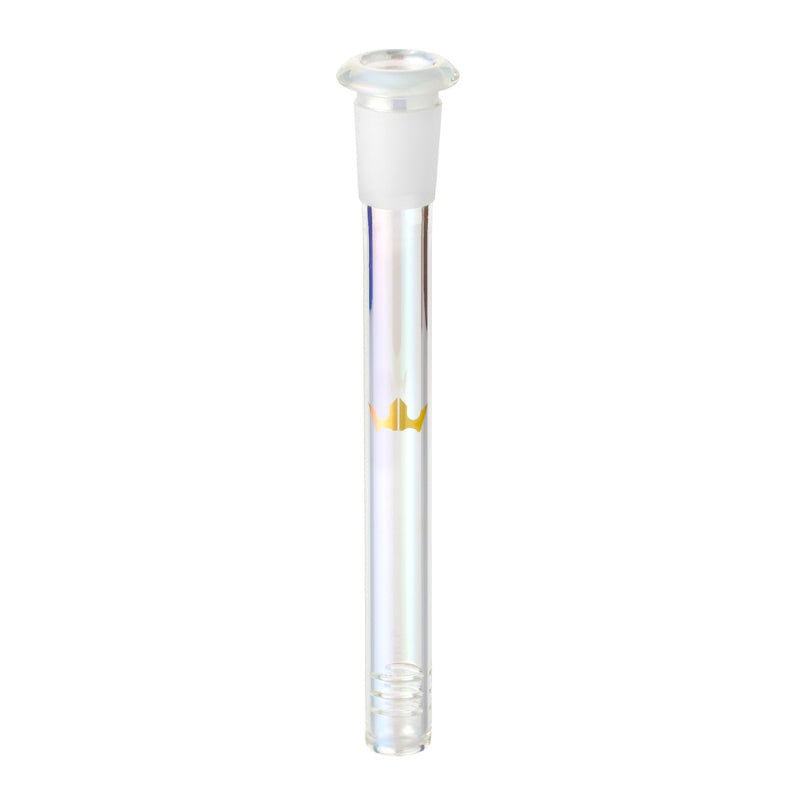
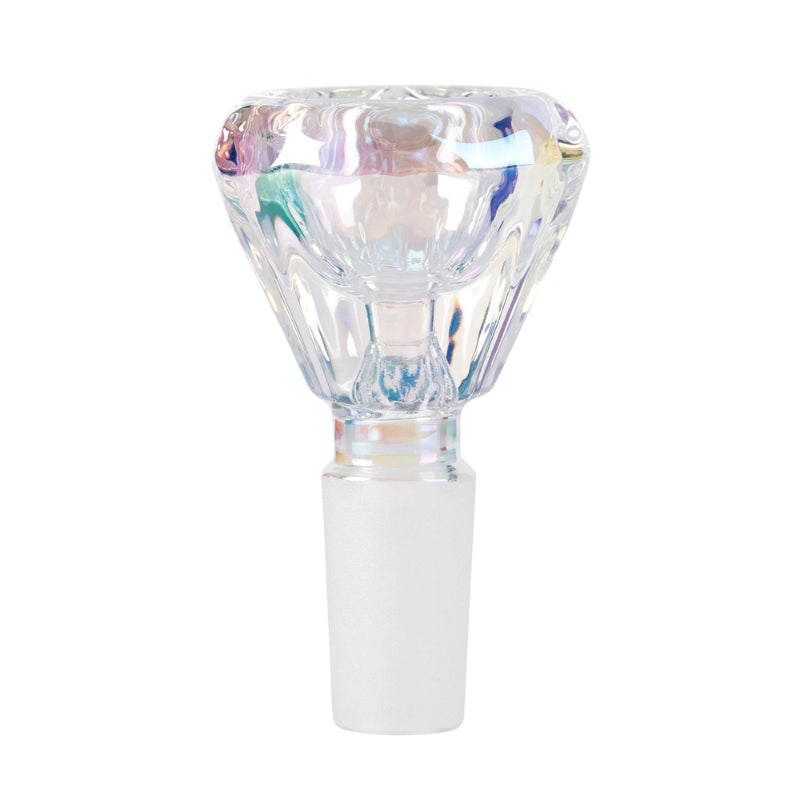
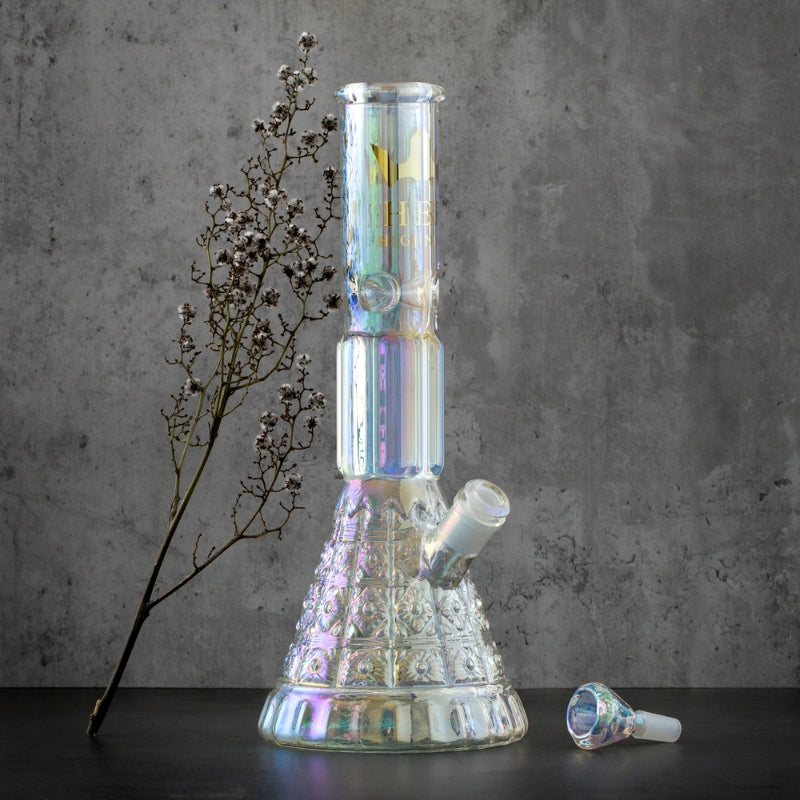
Begin by carefully taking apart your bong, removing all detachable components including the bowl, downstem, and any percolators present. This crucial initial step enables thorough cleaning of each individual part, ensuring no residue remains in hard-to-reach areas. Handle each component with extreme care to prevent breakage, particularly when dealing with delicate glass pieces.
Step 2. Rinse with Hot Water
Start the cleaning process with a thorough hot water rinse of your bong and its separate components. This preliminary wash helps dislodge and remove loose debris, making subsequent cleaning steps more effective. Exercise caution with water temperature to avoid thermal shock to the glass. This essential step is particularly effective for eliminating water marks and softening fresh resin deposits.
Step 3. Add Cleaning Solution
Pour your selected cleaning solution into the bong. For best results, use either a dedicated bong cleaner or create a mixture using isopropyl alcohol combined with coarse salt. The alcohol acts as an effective solvent to break down stubborn resin, while the salt functions as an abrasive agent to remove persistent buildup. Fill approximately one-quarter of the bong with your chosen solution, ensuring thorough coverage of all interior surfaces.
Step 4. Shake and Soak
Securely cover all openings of your bong using your hands or purpose-made plugs, then vigorously shake for approximately 30 seconds. This action ensures the cleaning solution reaches all interior surfaces, effectively loosening and removing residue. For particularly dirty bongs, allow the solution to soak for 30-60 minutes, enabling it to thoroughly penetrate and dissolve stubborn buildup.
Step 5. Scrub Stubborn Areas
After soaking, use a specialised bong brush or pipe cleaners to address any remaining problematic areas. Focus particularly on regions prone to heavy accumulation, such as the bowl, downstem, and percolators. For intricate parts, use a combination of small brushes and pipe cleaners to reach confined spaces. Be thorough but gentle to avoid scratching or damaging the glass surface.
Step 6. Final Rinse
Once all visible residue has been eliminated, perform a meticulous rinse of your bong and its components using clean, warm water. This vital step ensures the complete removal of any remaining cleaning solution and loose particles. Continue the rinsing process until the water runs completely clear and no trace of cleaning solution odour lingers. This thorough rinsing guarantees that your next smoking session will be entirely free from any unwanted cleaning agent taste or aroma.
Step 7. Dry and Reassemble
Allow each component of your bong to air dry completely before proceeding with reassembly. For larger surfaces, you can speed up the drying process by using a clean, lint-free cloth. Once thoroughly dried, carefully reconstruct your bong, ensuring each component fits together perfectly and securely. A properly dried and reassembled bong not only maintains its spotless appearance but also prevents unsightly water marks and significantly reduces the risk of bacterial growth.


